
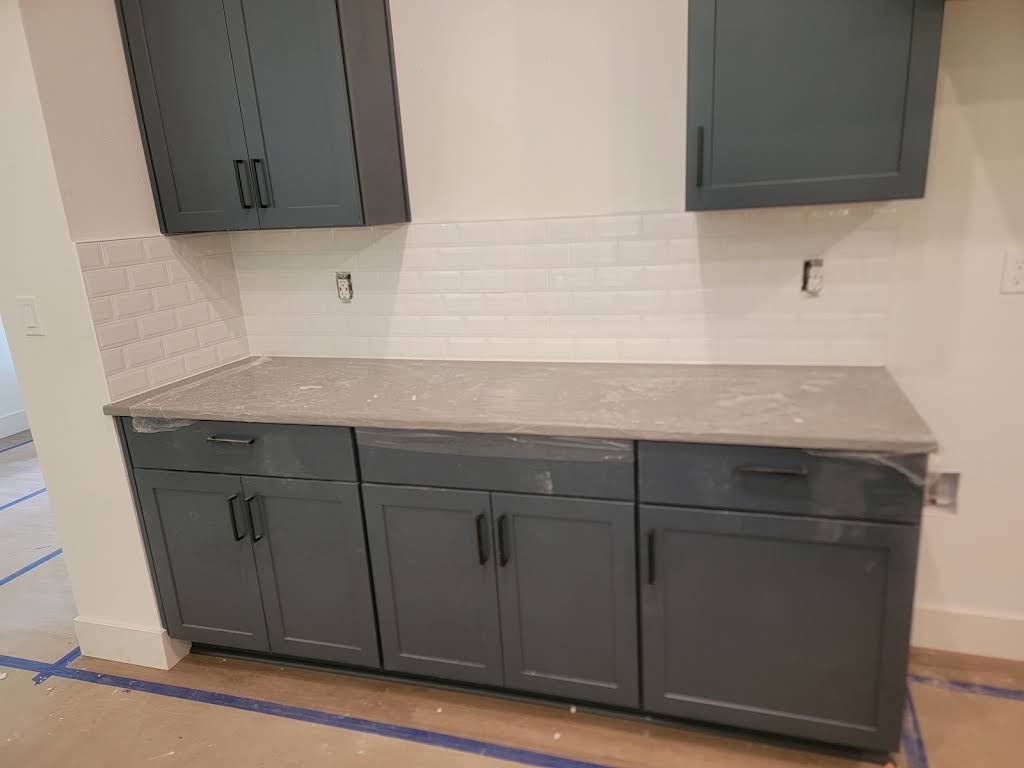
A kitchen backsplash looks like a small, straightforward project, but the decisions you make before installation are what keep it from becoming a series of compromises during the work. Where the tile starts and ends, how it meets the cabinets and counters, and how the grout reads in your kitchen light all get decided up front.
Working through those choices before the tile is set keeps the layout intentional and the estimate clear. It also surfaces the details, like outlet cuts and edge conditions, that turn a clean backsplash into a finished one.
Where the Backsplash Starts and Ends
Decide the extent of the backsplash before work begins. Whether it runs the full wall behind the range, wraps corners, or stops at the upper cabinets changes how much tile you need and how the layout lands. An endpoint that is decided on the fly often leads to an awkward cut or a visible edge.
A clear extent also lets the installer plan the layout so the tile falls in a balanced way across the wall rather than landing a sliver cut at a corner or a cabinet edge. Planning the start point is as important as planning the end point.
Cabinet, Counter, and Edge Details
The backsplash meets the cabinets above and the counter below, and those transitions need to be clean. Where the tile ends at an open wall or a cabinet side, the edge needs a trim or a finished tile edge so it does not look cut off.
Sharing your cabinet and counter details, and any samples you have, helps the installer plan those transitions. It also lets you see how the tile color reads next to the surfaces it will touch every day.
Outlets, Switches, and Cut Planning
A kitchen backsplash has to fit around outlets, switches, and sometimes window trim. Those cutouts are planned in the layout so the tile lands cleanly around them rather than being notched as an afterthought. The layout is what keeps the cuts precise and the outlets sitting flat.
Knowing where every outlet and switch sits before the layout is set means the installer can shift the tile pattern so cuts fall in sensible places. It is one of the details that separates a planned backsplash from a rushed one.
Grout Color Under Your Lighting
Grout color changes the whole look of a backsplash. A matching grout makes the tile read as a continuous field, while a contrasting grout highlights each tile and the pattern. The same grout can look different in your kitchen than it does on a sample board.
Viewing grout and tile samples together in the actual kitchen light, against the cabinets and counter, is the honest way to choose. A grout that looks subtle in the store can read bold in the room, or the other way around.
Surface Condition and Access
The wall behind a backsplash needs to be sound and clean for the tile to bond. If the existing wall has damage, grease buildup, or an old backsplash that was removed, the surface condition affects the preparation before the tile is set.
Ask what preparation the estimate includes and what happens if the wall needs repair once the old surface is exposed. A clear scope keeps the backsplash installation and any needed wall work on the same estimate rather than as a surprise.
Tell us where your backsplash starts and ends and what it meets. We will review the scope with you and prepare a project quote.